Step-by-Step WordPress Plugin Updates with TortoiseSVN – Updating your WordPress plugin doesn’t have to feel like rocket science, but let’s be honest – sometimes it feels that way.
You’ve built something amazing, users are asking for improvements, and now you need to push those changes to the WordPress Plugin Directory.
Good news: TortoiseSVN makes this process surprisingly straightforward once you know the steps.
Updating a plugin correctly is essential to maintaining user satisfaction and preserving your reputation.
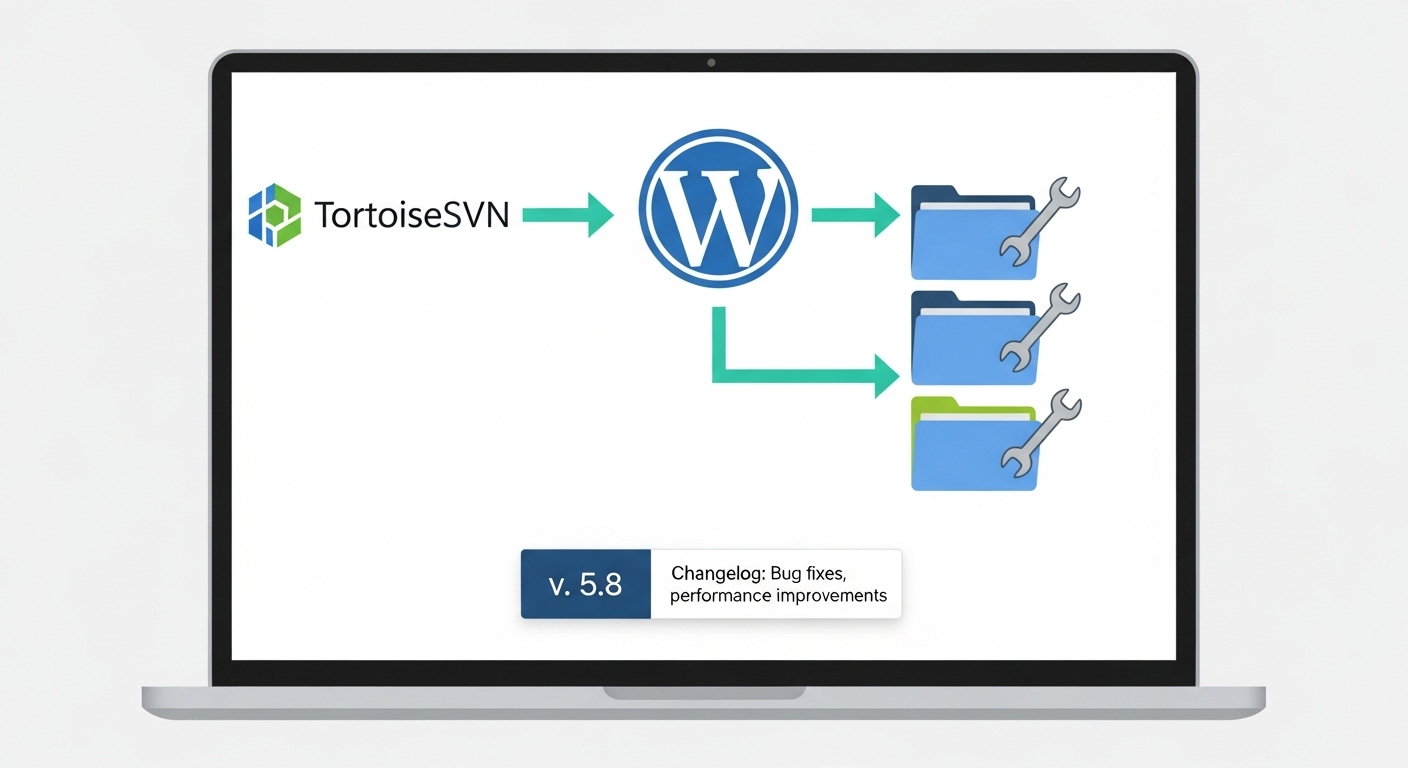
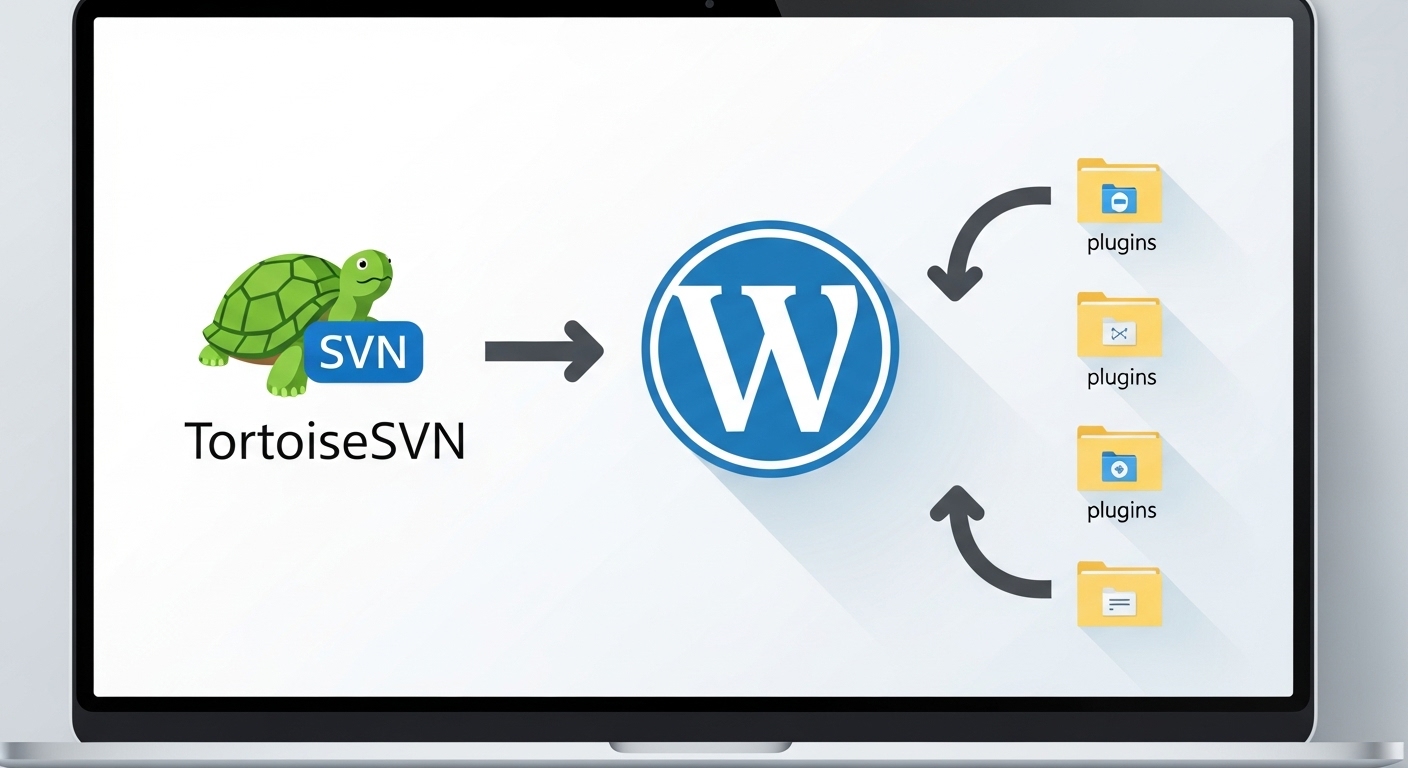
This guide will walk you through the steps to update an existing WordPress plugin using TortoiseSVN on Windows, covering bug fixes, feature additions, and responding to user feedback.
TL;DR
Hide- Set up your environment first – Install TortoiseSVN on Windows, have your WordPress.org credentials ready, and ensure your plugin is already in the WordPress SVN repository with the correct folder structure (
trunk,tags,assets). - Update key plugin files – Always change the version number in both the main PHP file and
readme.txt, using semantic versioning for clarity (e.g.,1.0.1for bug fixes,1.1.0for new features). - Maintain version consistency – Ensure version numbers match exactly across files and that the stable tag in
readme.txtcorresponds to the new release. Even small mismatches can cause update failures. - Commit changes via TortoiseSVN – In the
trunkfolder, review modified files, write a clear commit message describing changes, and authenticate with WordPress.org to push updates. - Create a tagged release – Use the “Branch/tag” function to snapshot the updated trunk into a
/tags/[version-number]directory, making it the official public release version. - Verify updates on WordPress.org – Plugin directory updates usually appear within 15 minutes; end users see update notifications within about two hours, along with your changelog.
- Troubleshoot update issues – Most problems stem from mismatched version numbers or incorrect stable tags. Double-check details to ensure smooth updates and maintain user trust.
This is the exact same guide I follow every time I want to update my own WordPress plugins in the WordPress Plugin Repository, such as OneClick Chat to Order.
Prerequisites Before You Start
To prepare for the update process, your development environment must be set up correctly.
This requires TortoiseSVN to be installed on your Windows computer, and you must have previously uploaded your plugin to the WordPress SVN repository.
If you are starting from the beginning, complete the initial setup first.
Organize your plugin files in the standard WordPress SVN structure, which includes trunk, tags, and assets folders.
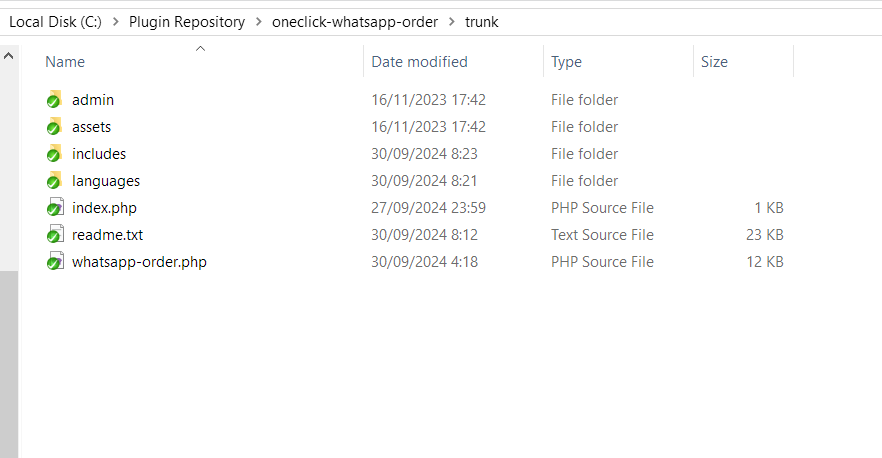
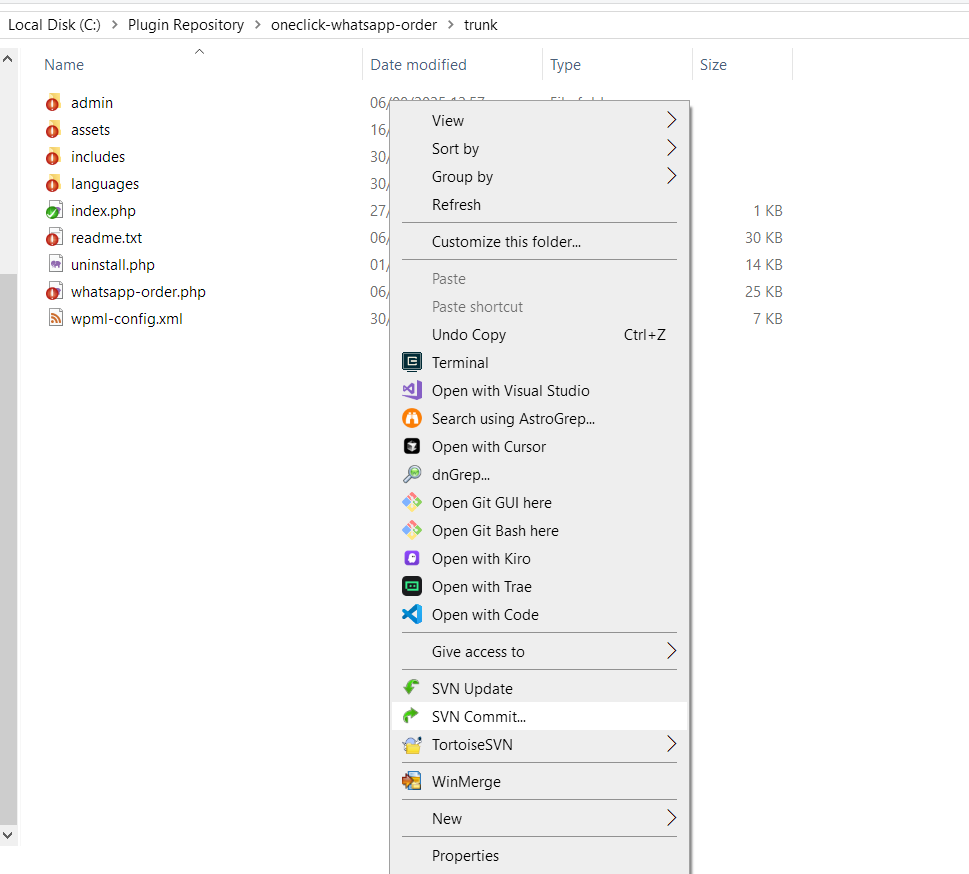
Create a folder name somewhere in your Windows machine. You can name it whatever, perhaps “Plugin Repository” folder. Then inside it, right click on an empty space, then click SVN Update. If asked, provide your WordPress.org login credentials.
All your plugin directories will be downloaded from the SVN repository into the Plugin Repository folder. You can then go to the trunk folder and see your main plugin directory files and subfolders like the following:
Have your WordPress.org login credentials ready, which are the same as those you use for the WordPress forums and website.
Preparing WordPress Plugin Files for Update
The first step involves updating your actual plugin files, and here’s where many developers make their first mistake.
You can’t just change the code and call it a day. Two files absolutely must be updated: your main PHP file and the readme.txt file.
In your main PHP file, locate the version number in the header comment block.
If your current version is 1.0.0 and you’re releasing bug fixes, bump it to 1.0.1. For new features, consider jumping to 1.1.0.
The WordPress community appreciates semantic versioning, and your users will thank you for clear version progression.
Updating the Readme.txt File
The readme.txt file serves as your plugin’s information hub, and updating it properly can make or break user adoption of your new version.
Navigate to the changelog section and add your new version with clear, specific descriptions of what changed.
Here’s what a good changelog entry looks like: “Version 1.0.1: Fixed database connection timeout issue, improved error handling for API calls, added compatibility with WordPress 6.8.2.”
Users want to know exactly what they’re getting, not vague statements like “various improvements.”
Version Number Consistency
Double-check that your version numbers match across all files.
I’ve seen plugins rejected because the main PHP file said 1.0.1 while the readme.txt still showed 1.0.0.
WordPress.org’s automated systems catch these discrepancies, and they’ll block your update until everything aligns perfectly.
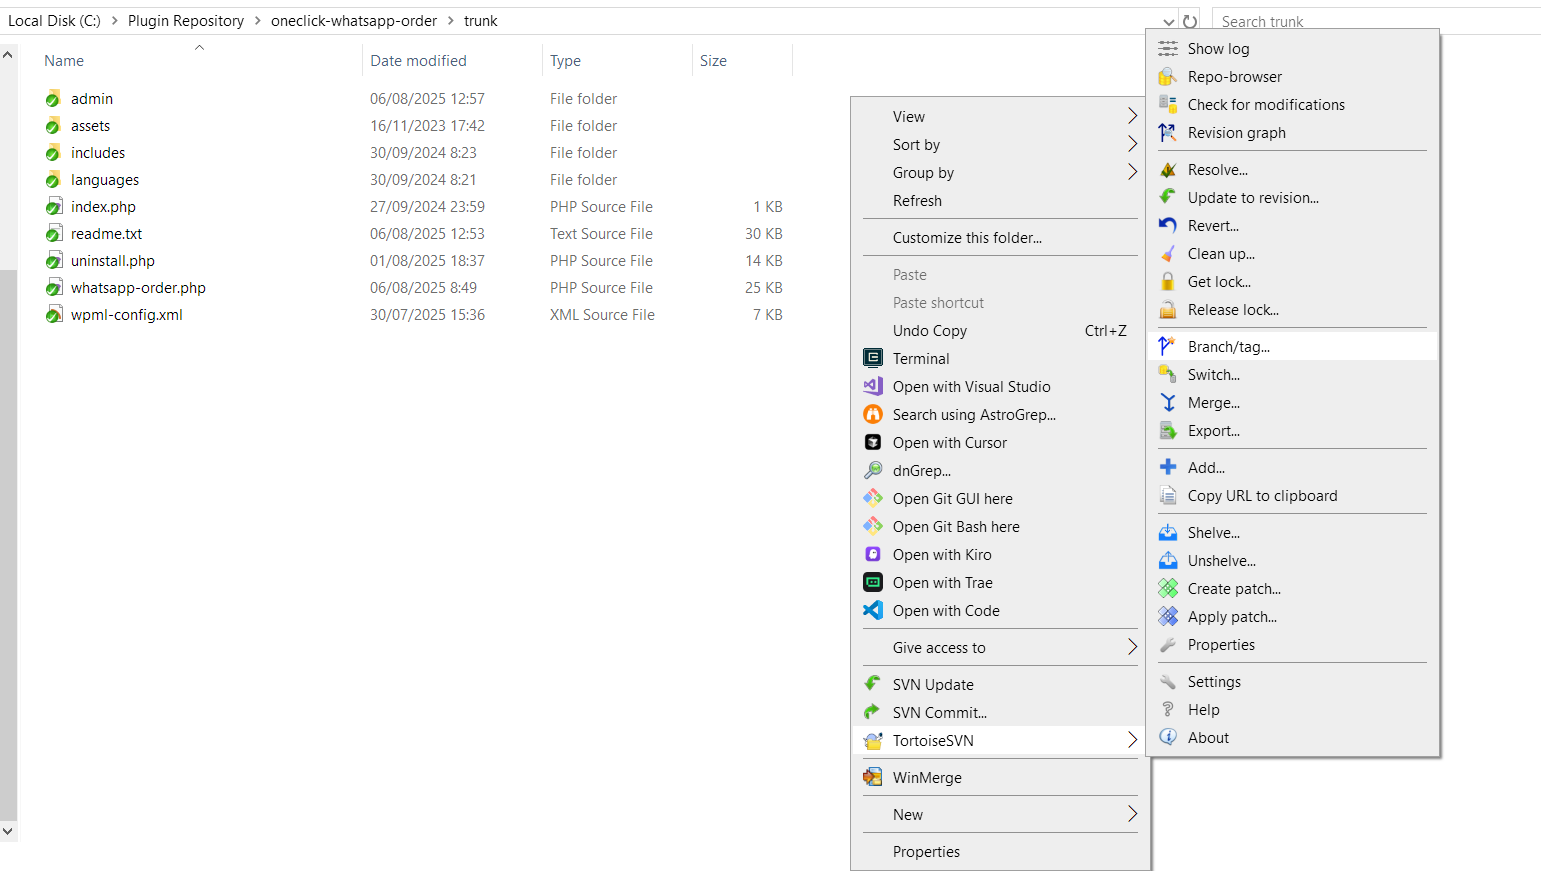
Committing Changes to the Trunk Directory
Now comes the actual SVN magic. Navigate to your plugin’s trunk folder on your local machine – this is where all your development work lives.
When you’ve modified files, TortoiseSVN marks them with red exclamation marks over the file icons as shown in the following screenshot:
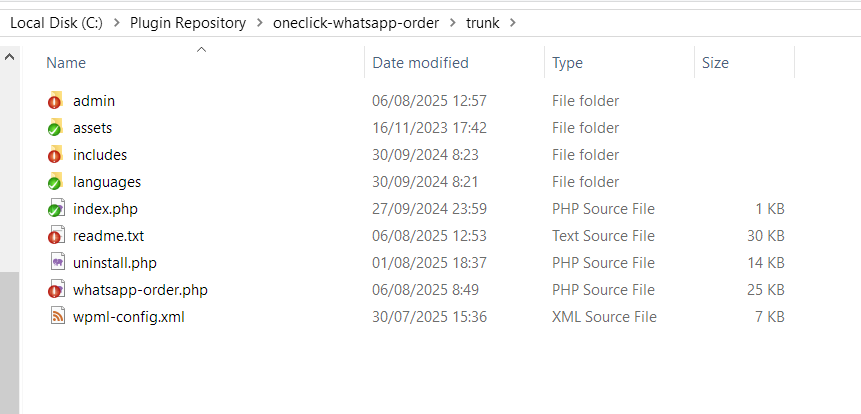
These visual cues help you identify exactly what’s changed since your last commit.
Right-click in any blank area within the trunk folder and select “SVN Commit” from the context menu as shown below:
This opens the commit dialog where you’ll describe your changes and select which files to include in the update.
Writing Effective Commit Messages
In the top field, enter a clear description of your update. Something like “Version 1.0.1 – Bug fixes and performance improvements” works perfectly.
Avoid generic messages like “updates” or “changes” – future you will appreciate the specificity when reviewing commit history months later.
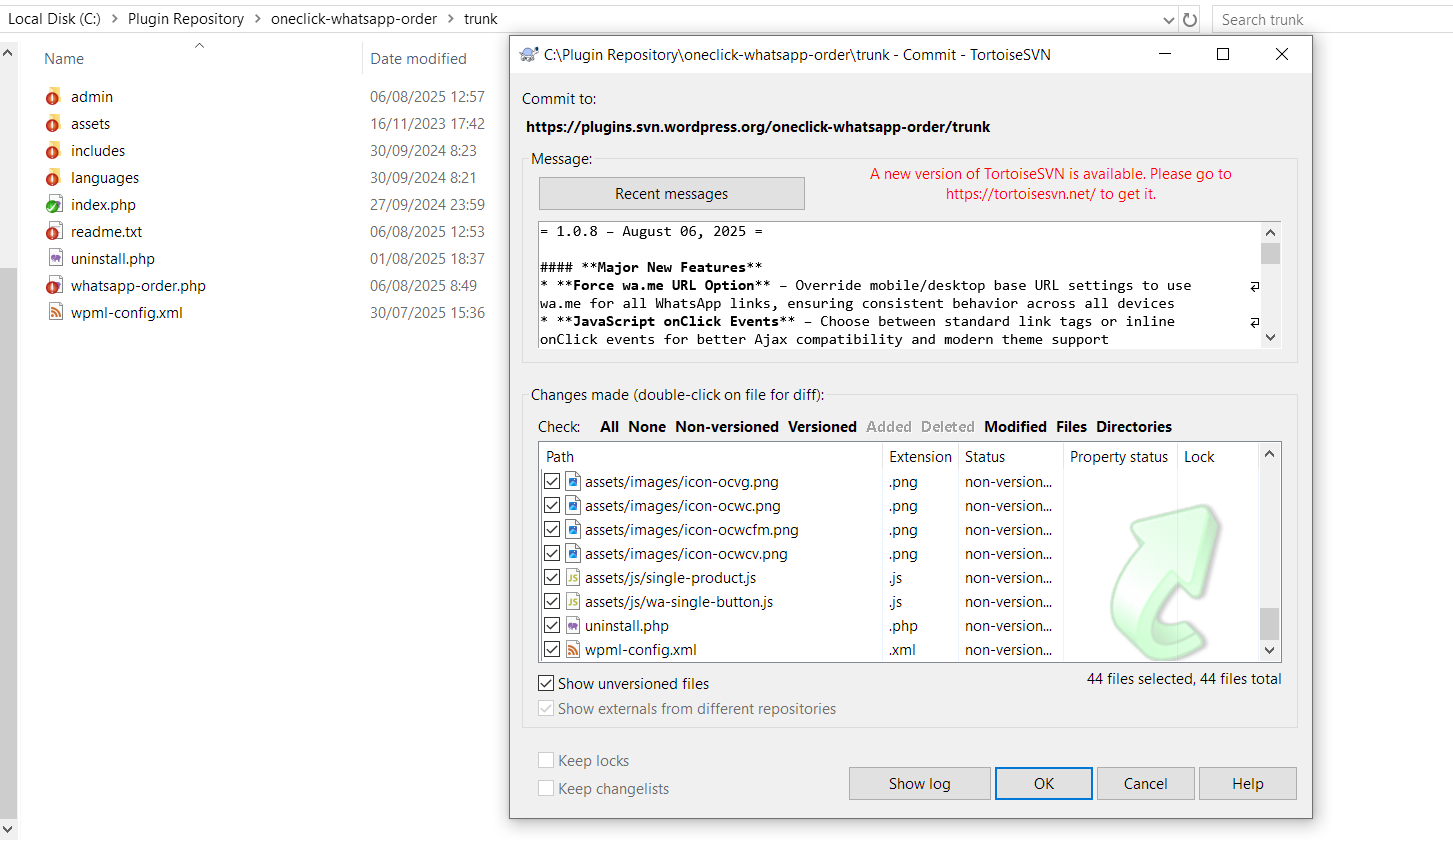
The bottom section shows all modified and new files.
Make sure you’ve selected everything you want to include in this update.
Sometimes you’ll have experimental files you don’t want to release yet, so review this list carefully before proceeding.
Authentication and Final Commit
Click “OK” and TortoiseSVN will prompt for your WordPress.org credentials. Enter the same username and password you use for WordPress forums and the main website.
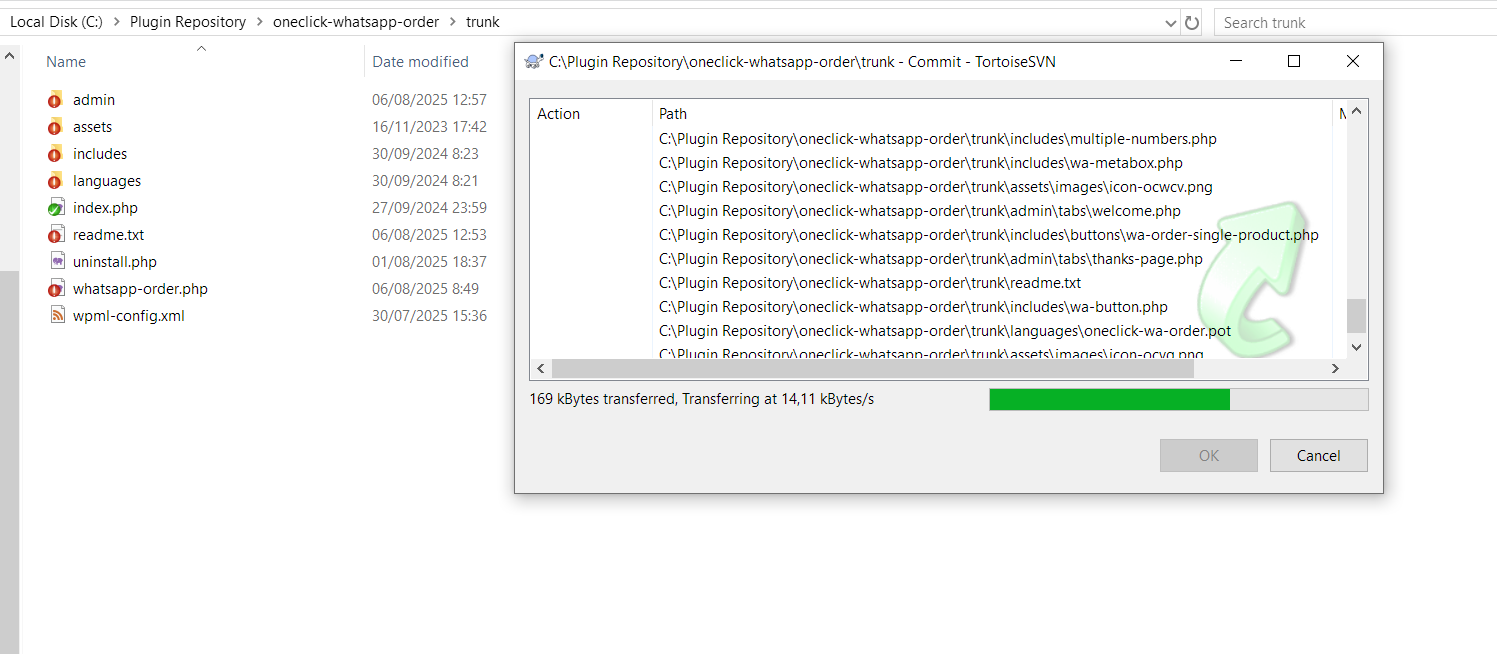
The system will upload your changes to the WordPress SVN repository, and you’ll see a confirmation message when everything completes successfully as follows:
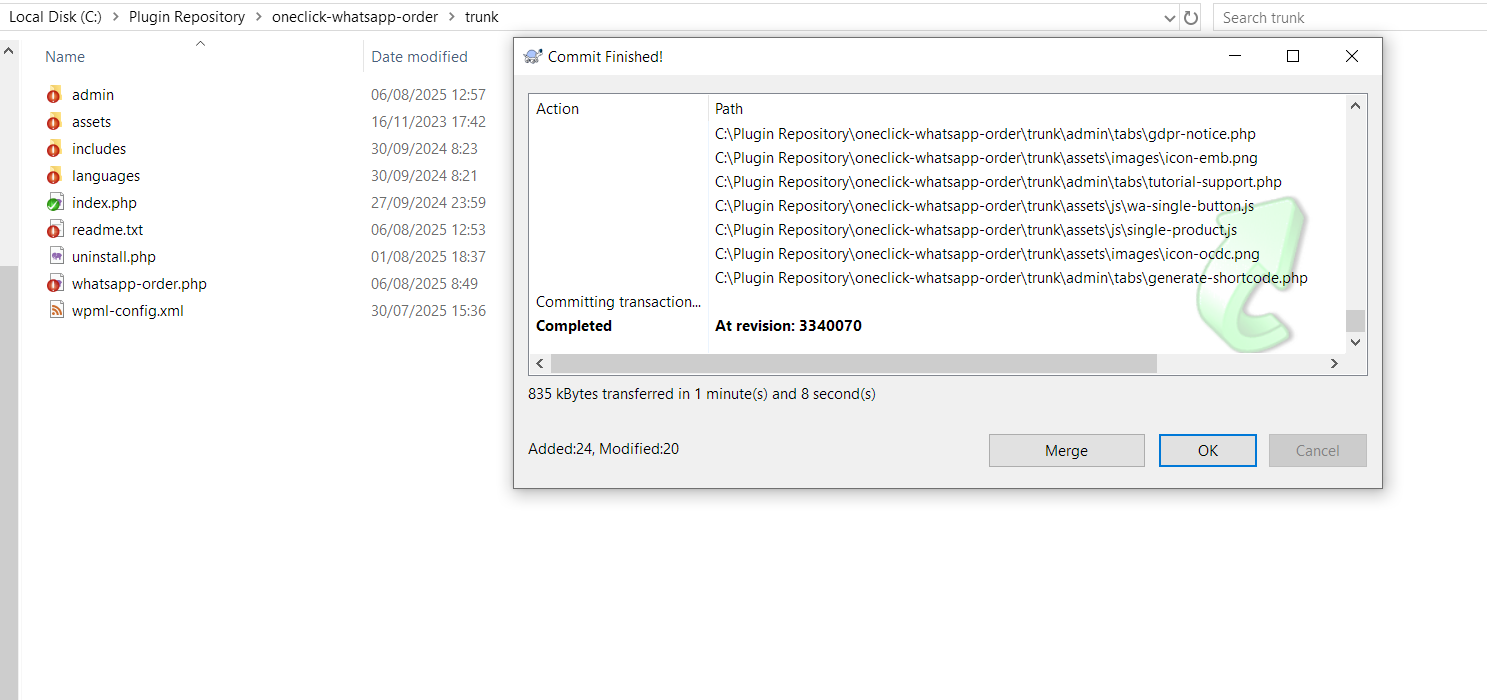
Then, just click OK and your plugin is already updated in the WordPress plugin repository.
Now, let’s move on.
Creating a Tagged Release
Committing to trunk updates your development version, but WordPress users won’t see these changes until you create a tagged release. Think of tags as official release snapshots – they tell WordPress “this specific version is ready for public consumption.”
From your trunk folder, right-click in a blank area and choose “TortoiseSVN” then “Branch/tag” from the submenu.
This opens the branching dialog where you’ll create your official release tag.
Setting Up the Tag Path
In the “To path” field, you’ll see your current trunk path. Change “/trunk” to “/tags/[version-number]” – for example, “/oneclick-whatsapp-order/tags/1.0.8“. This creates a permanent snapshot of your code at this specific version.
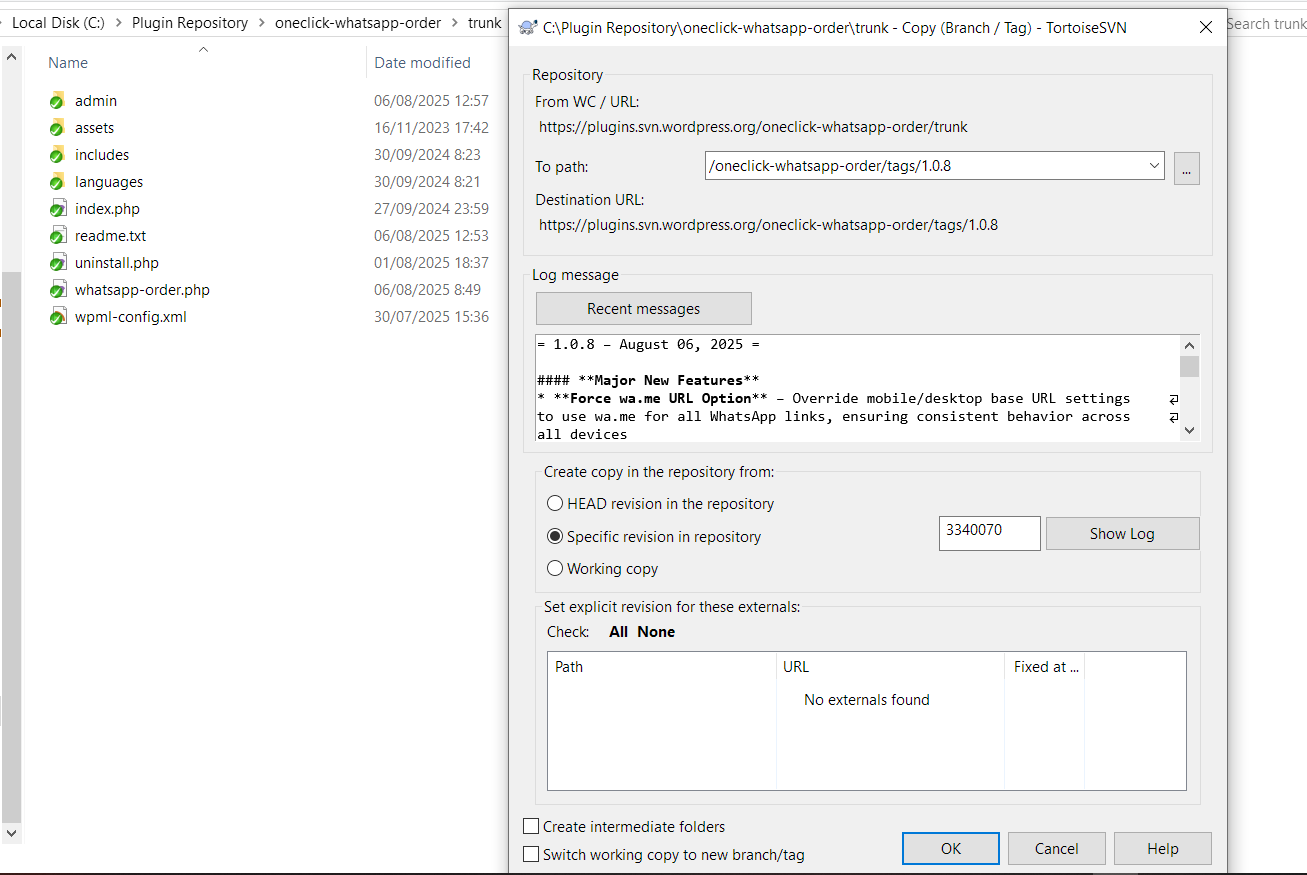
Add a revision comment that describes this release. Something like “Version 1.0.1 – Bug fixes for database connectivity and improved error handling” gives context for future reference.
These comments become part of your plugin’s permanent history.
Finalizing the Tagged Release
Click “OK” and enter your WordPress credentials again when prompted. The system creates your tag and confirms completion with a success message.

This tag becomes the version that WordPress installations will download when users update your plugin.
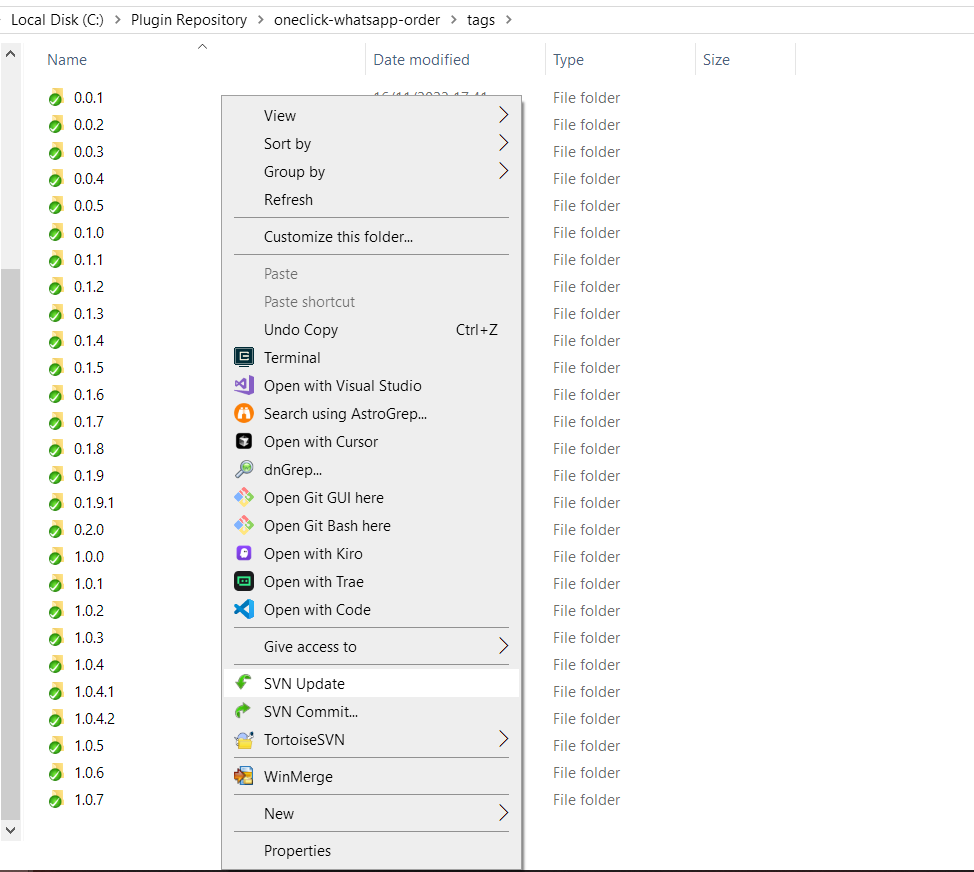
After tagging, navigate to your local tags folder, right-click, and choose “SVN Update.”
This downloads the newly created tag to your computer, giving you a local copy of exactly what users will receive.
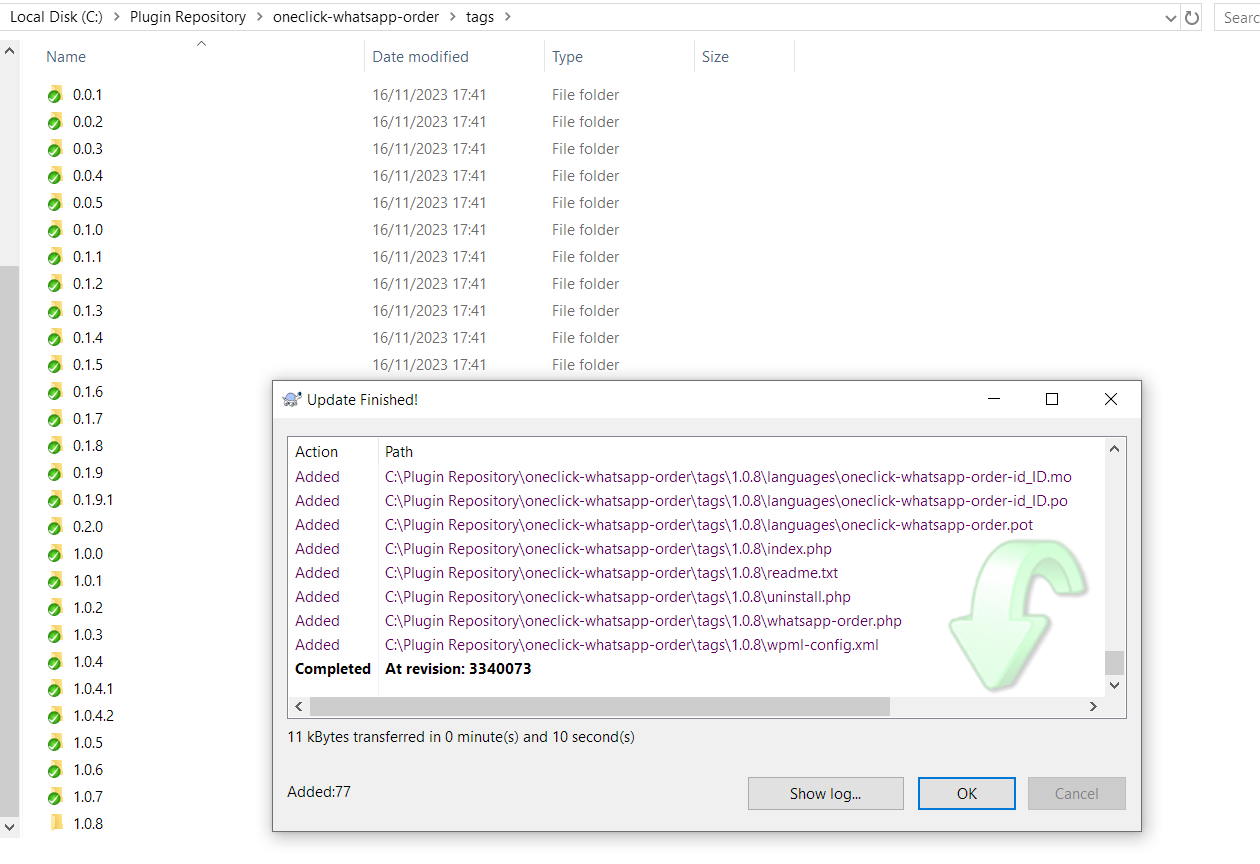
You will see the success message window as shown above.
Verifying Your Plugin Update
WordPress.org processes plugin updates automatically, but the timing varies depending on what you changed. Version number updates typically appear in the directory within 15 minutes.
After that, you just need to go to your plugin page on WordPress plugin repository and see that the Last updated time is updated:
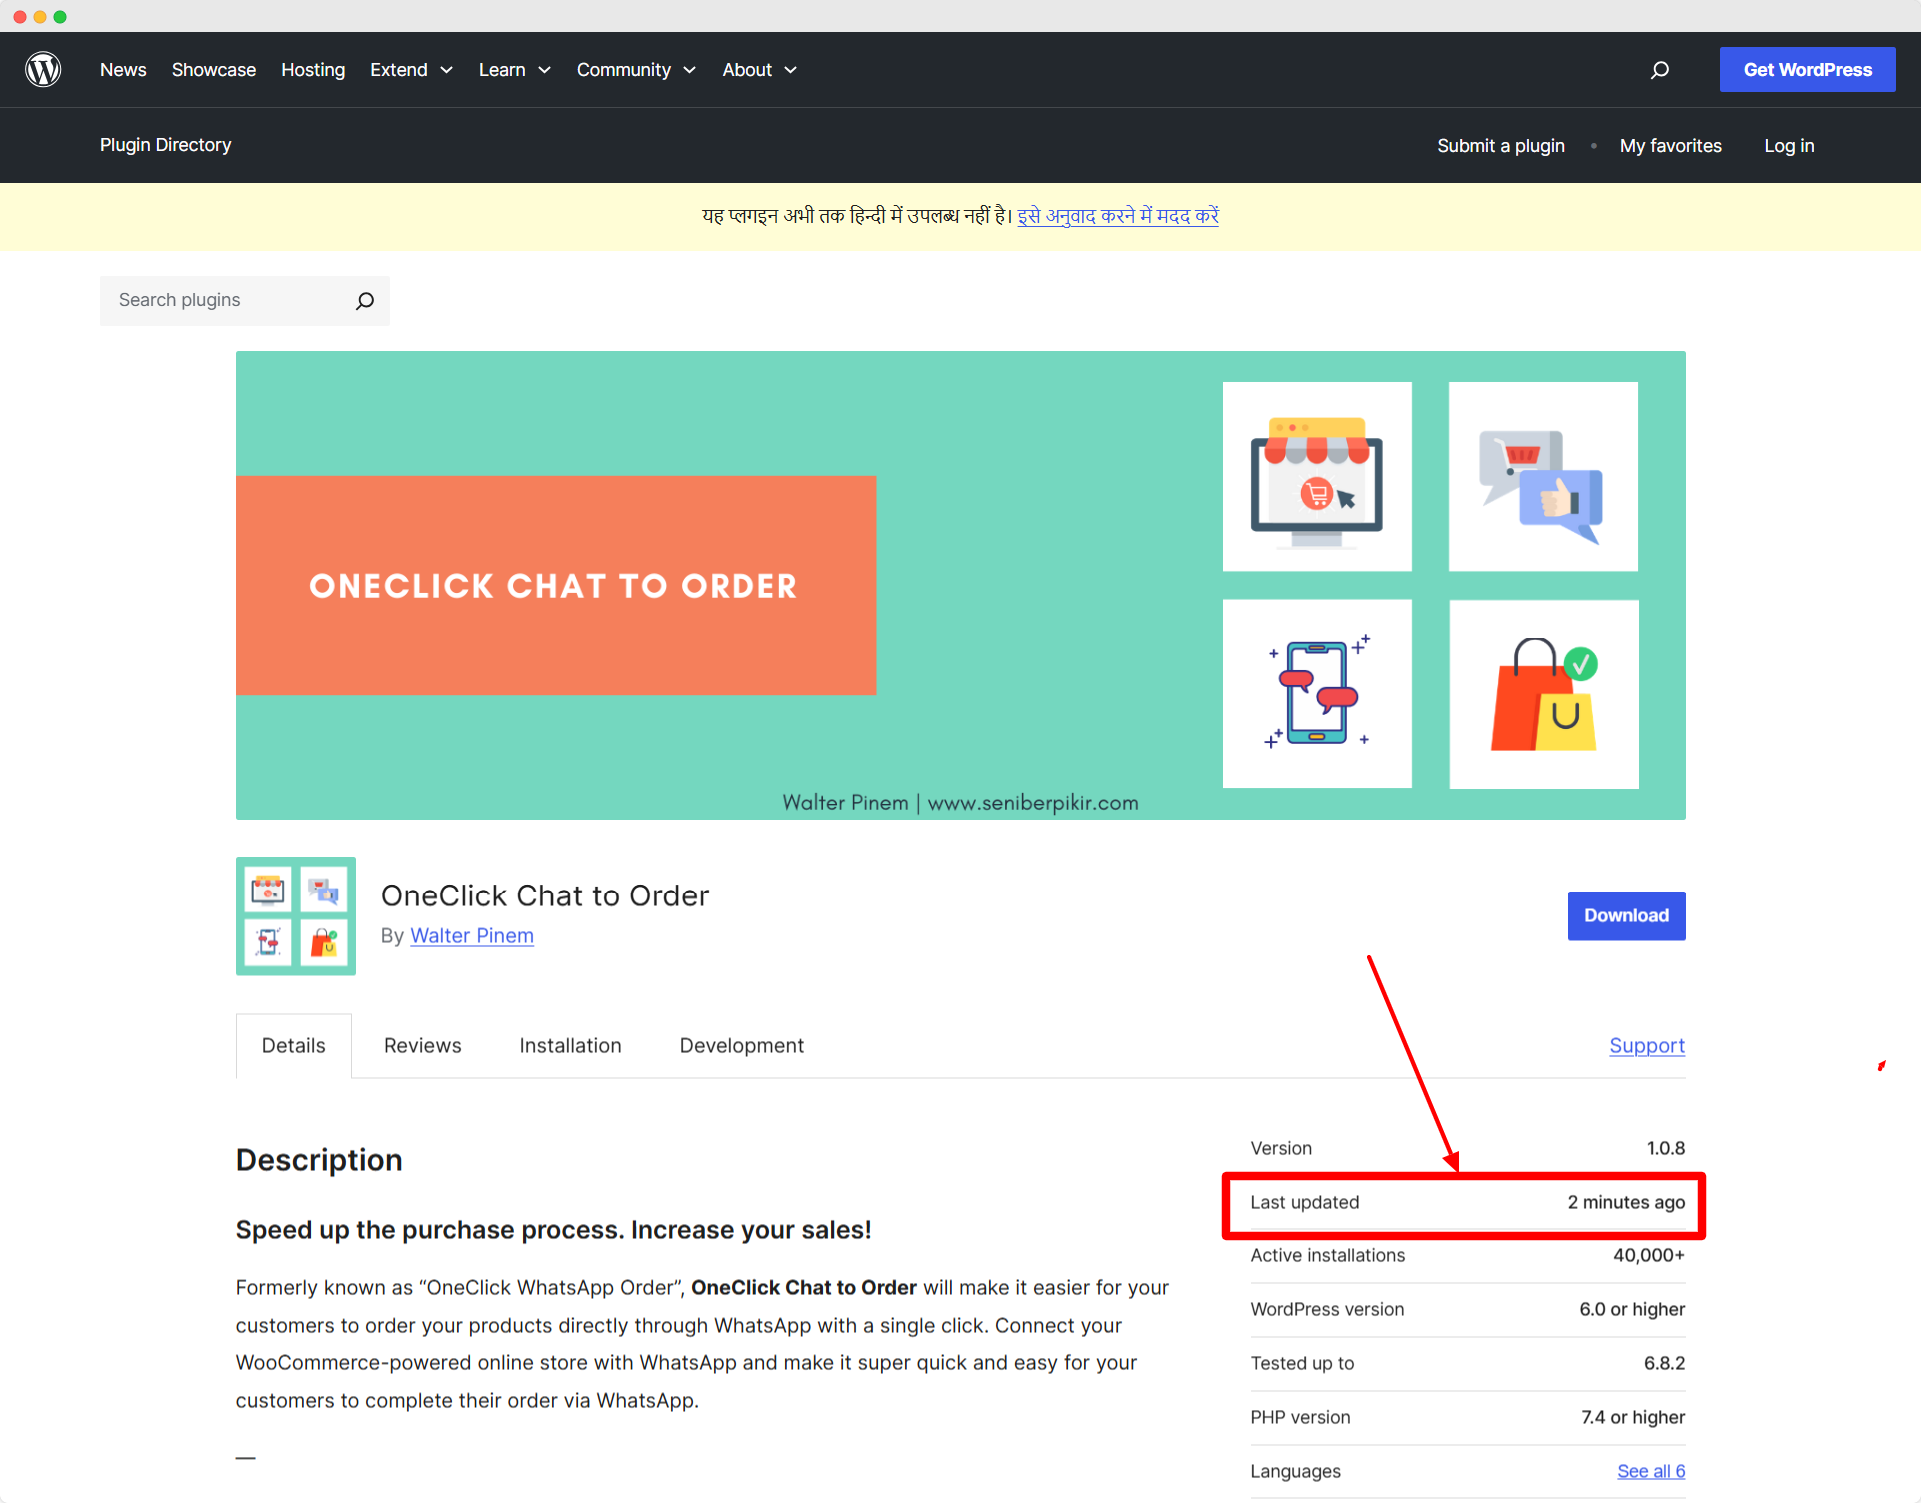
If you don’t see the change, there might be an issue with version number consistency between your files.
Users with your plugin installed will see update notifications within two hours – that’s WordPress‘s default update checking interval.
They’ll see your changelog information when deciding whether to update, which is why clear, honest descriptions matter so much.
Troubleshooting Common Issues
Sometimes version numbers don’t update in the plugin directory even after successful commits.
This usually happens when version numbers don’t match between your main PHP file and readme.txt, or when the stable tag in readme.txt points to a non-existent version.
Double-check that your stable tag in readme.txt matches your new version number exactly.
Case sensitivity matters here, and even extra spaces can cause problems.
WordPress’s automated systems are picky about these details, but they’re designed to protect users from broken updates.
The beauty of this system lies in its reliability.
Once you’ve walked through this process a few times, updating becomes second nature. Your users get clean, predictable updates, and you maintain control over exactly when and how changes roll out.
Remember, every plugin update is an opportunity to improve user experience and demonstrate your commitment to quality.
Take the extra few minutes to write clear changelogs and test thoroughly – your users will notice the difference.